My little girl is getting one of her molars in and has not had a great appetite. My approach to feeding her has been based on baby led weaning, which basically means allowing her to make her own food choices (although she is primarily gluten free, with some spelt). I just provide her with the best quality foods and she eats what she wants. So far it has worked out great. She has an amazing palate! Her favourite foods include avocados, hummus, broccoli and sweet potatoes.....let's hope this keeps up! The only time she has trouble with eating is when she is teething. I always approach this by giving her lots of variety and continuing to let her make her own choices. One thing that I know she will eat no matter what, is homemade sorbet (made with only frozen fruit). I wanted her to have some quality nourishment today and as a nutritionist I understand the importance of quality fats for brain development so I got creative. Here is what I came up with and it was a total hit for the whole family, even daddy who doesn't really like avocados :)

It was hard to name this creation. It is not sorbet like I normally make with just fruit because of the fats but I can't really call it ice cream either. So it is a....
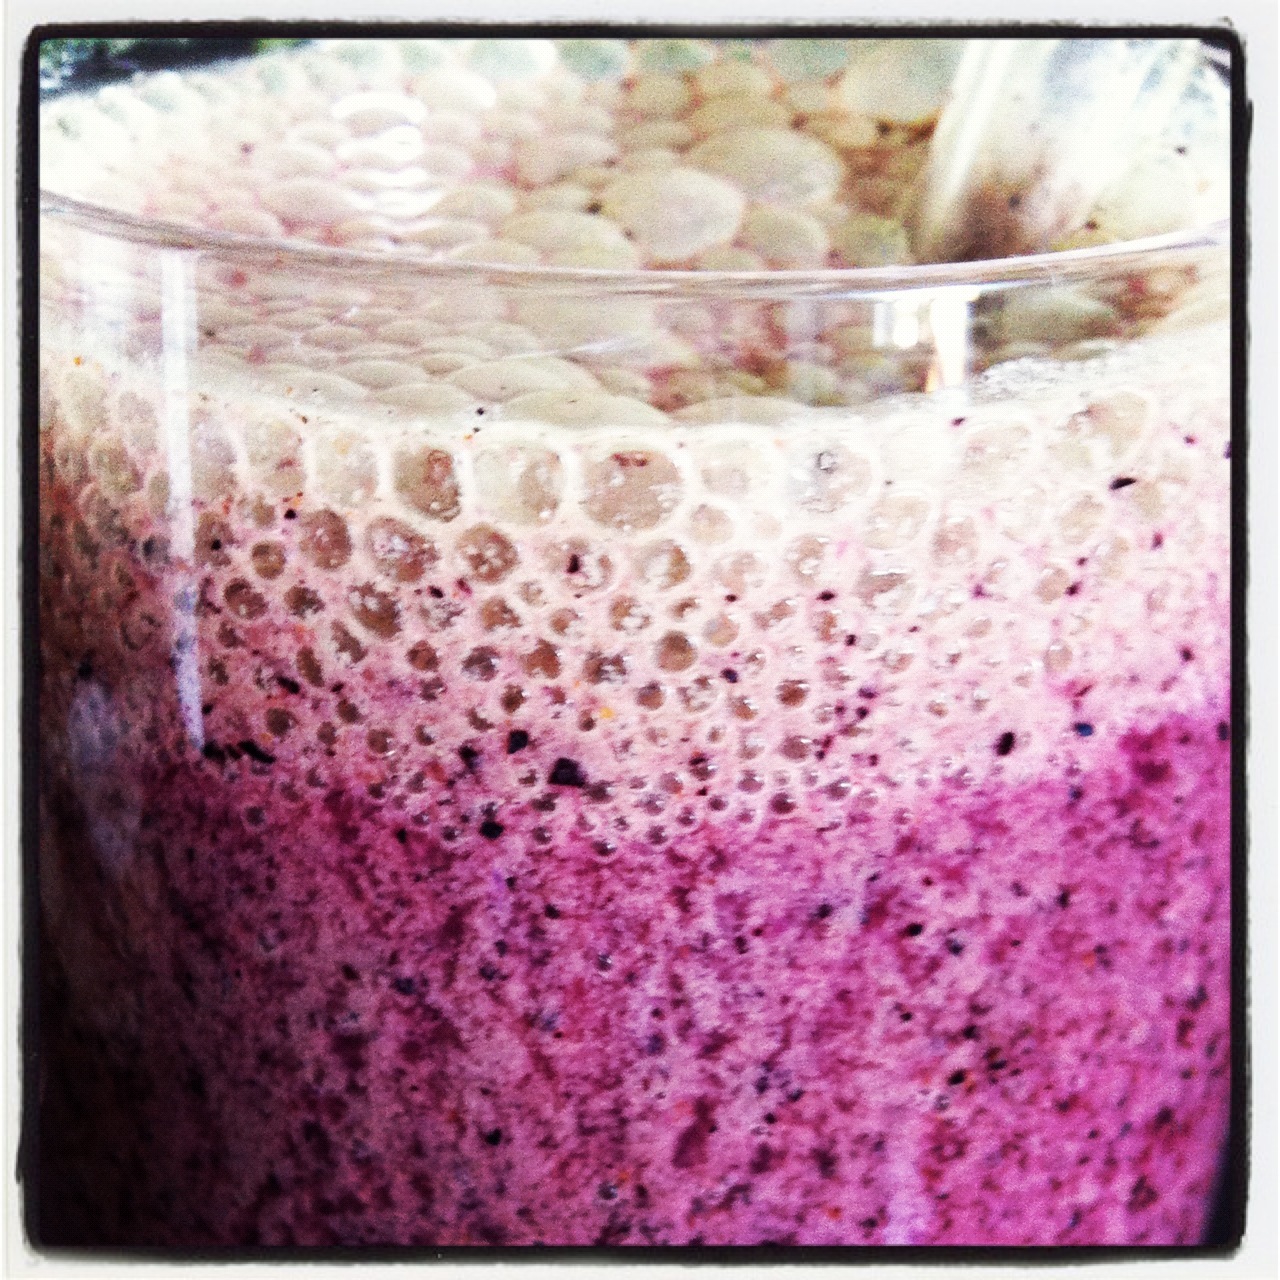
Creamy Mango Strawberry Frozen Delight
Serves 2-3
Ingredients
- 1 cup frozen mango cubes (great source of beta carotene, vitamin C, fibre, B6)
- 4-5 frozen strawberries (get organic if possible - great source vitamin C, manganese, folate, fibre, antioxidants)
- 1/2 avocado (healthy fats, folate, vitamin K, fibre)
- 2 heaping tbsp of hemp seeds (amazing source of plant protein, fibre, omega 3's, chlorophyll)
- 2 tbsp of coconut milk (great source of energy and quality saturated fats - important for growing brains)
- 1 tbsp pure maple syrup - source of minerals (you could also use honey here)
Add all ingredients to a high powered blender and blend until well creamy. If you don't have a high powdered blender use a food processor. Enjoy!
Even better when served up in a monster bowl :)